DIY Handmade Soap Gifts in Minutes
Let’s be real: between school runs, work deadlines, and keeping the house (mostly) together, finding time to shop for thoughtful gifts feels nearly impossible. We’ve all been there—the birthday party invite that slipped our minds, the teacher gift needed by tomorrow, or just the desire to show someone we care without adding another hour to our shopping list.
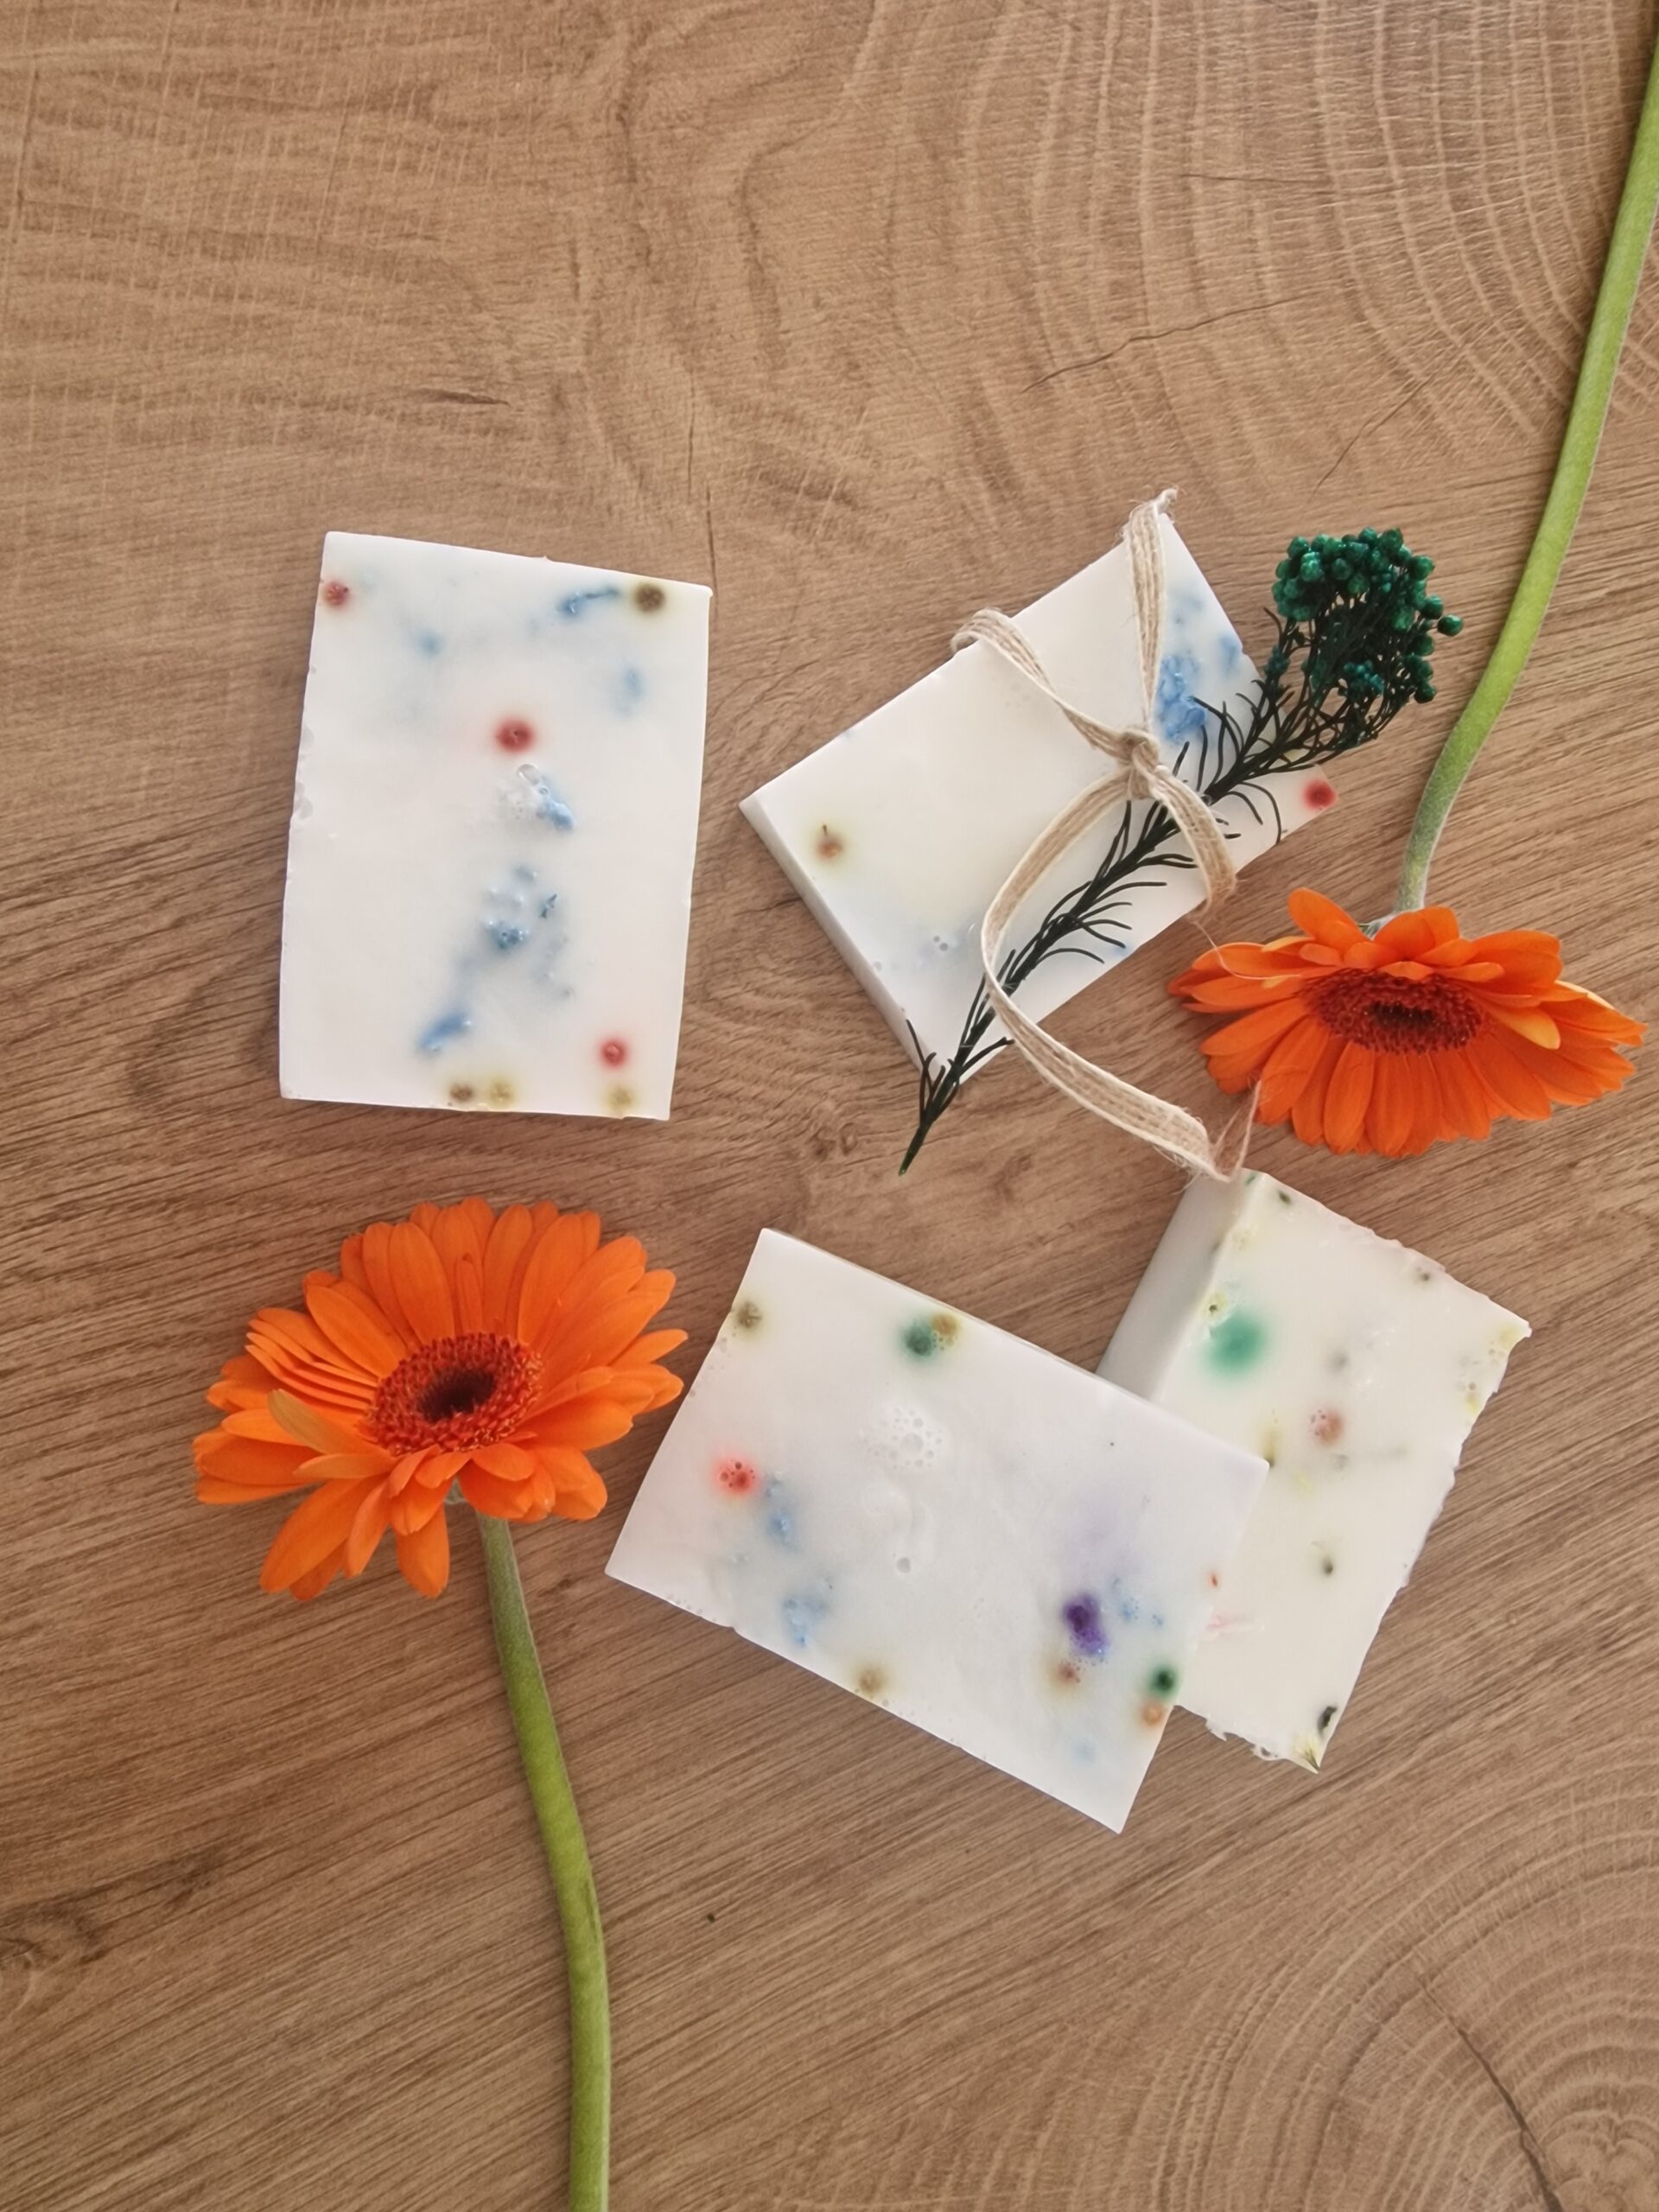
They look like you spent hours at a boutique craft studio, but the truth? You can whip these up in the time it takes to finish a cup of coffee (and maybe a quick episode of your favorite show). They are personal, beautiful, and—let’s be honest—infinitely better than a last-minute gas station card.
Why This Is a Busy Mom’s Best Friend
If you are juggling a million things like I am, you need DIY projects that respect your time. Here is why this method is a total game-changer:
- Lightning Fast: Thanks to the „melt-and-pour“ method, there is zero chemistry drama (no handling caustic lye) and minimal cleanup.
- Budget-Friendly: Making a whole batch costs a fraction of what you would pay for artisanal market soaps, yet they look just as luxurious.
- Endlessly Customizable: You can tailor the colors, botanicals, and scents to match the recipient’s personality or a specific holiday.
What You Need for Your DIY Soaps
To make your life easier, you can grab everything online in a single Amazon order. Here is my exact checklist:
Essential Supplies Checklist:
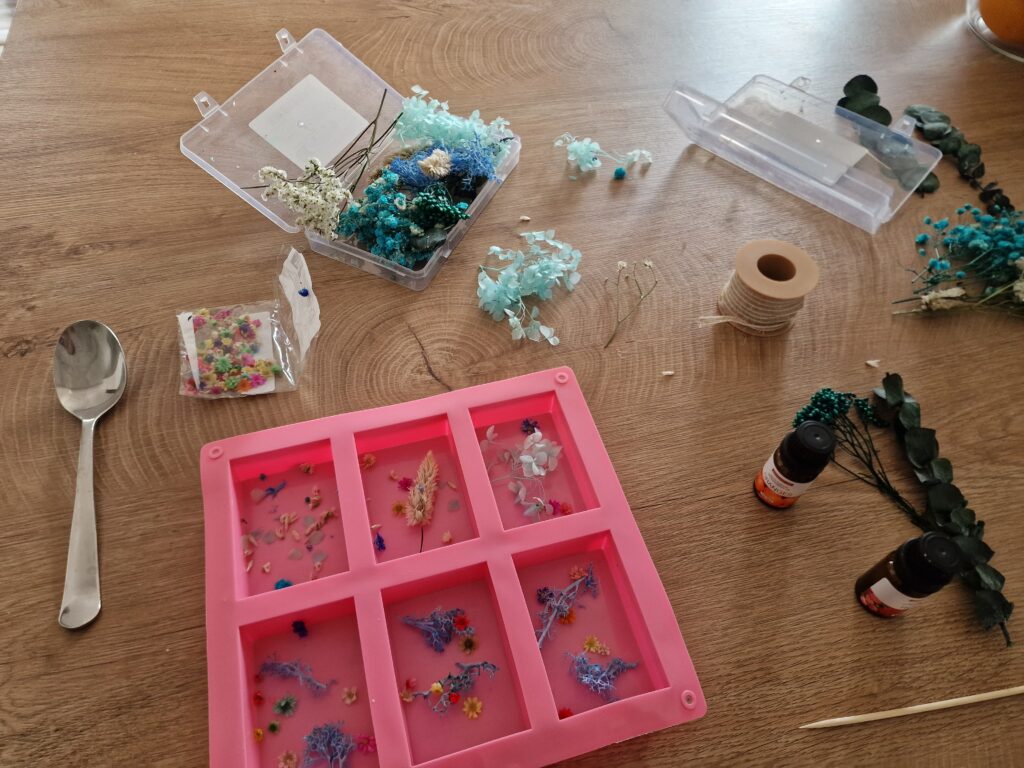
- Melt-and-Pour Soap Base: I always recommend a white (opaque) base. It gives the soap that creamy, milky look that makes the pastel tones and flowers pop.
- Silicone Molds: Stick to flexible silicone molds. They make popping out the hardened soap an absolute breeze without breaking your creation.
- Essential Oils: Invest in a good starter set. Having multiple options allows you to mix and match depending on who the gift is for.
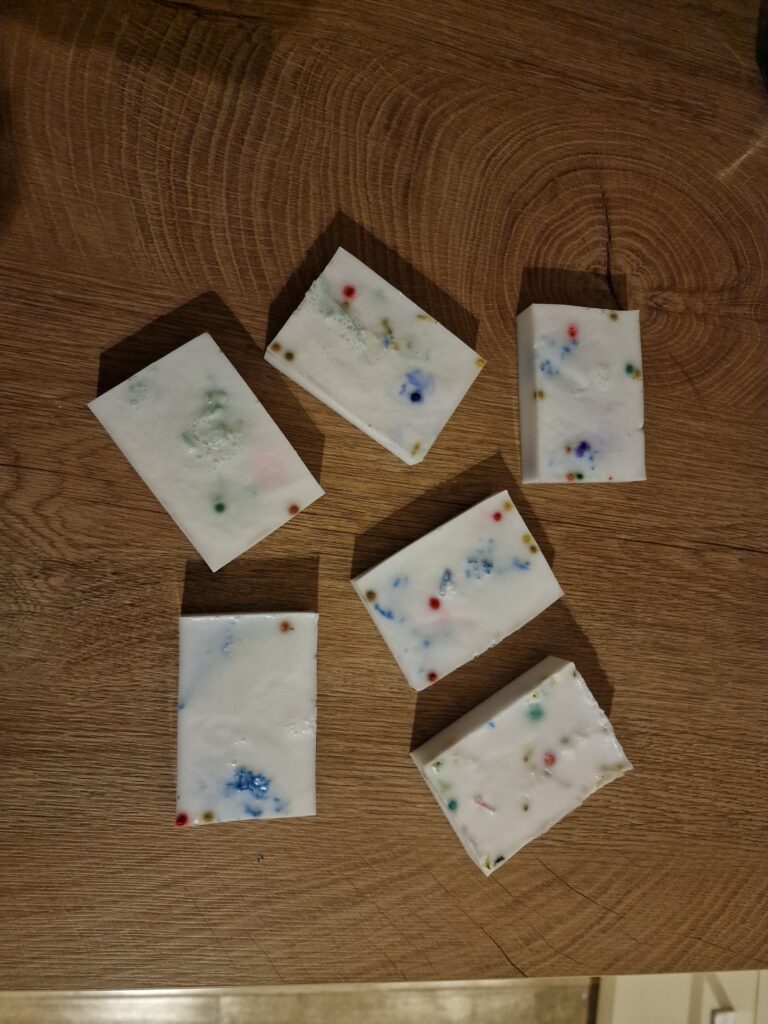
- Dried Flowers & Blossoms: These are the magic ingredient. They instantly turn a basic soap bar into a high-end masterpiece. Always ensure they are completely dried to prevent mold.
- Tools: A microwave-safe, heat-resistant glass measuring cup with a spout (for easy pouring) and a sturdy spoon.
Step-by-Step Instructions: The 15-Minute Process
- Prep Your Station: While the kids are occupied or doing homework, clear a small kitchen counter space. Line up your silicone mold and keep your dried flowers right next to it so you don’t have to scramble later.
- Melt the Base: Cut your soap base into small, uniform cubes to help them melt evenly. Place them in your heat-resistant container and microwave in short 30-second bursts, stirring in between. Pro-tip: Watch it closely and do not let it boil, or you’ll get unwanted air bubbles!
- Add the Magic (Fragrance): Once the soap is completely liquid and smooth, take it out of the microwave. Let it cool for just a minute, then stir in 10–15 drops of your favorite essential oil. Stir gently to avoid foaming.
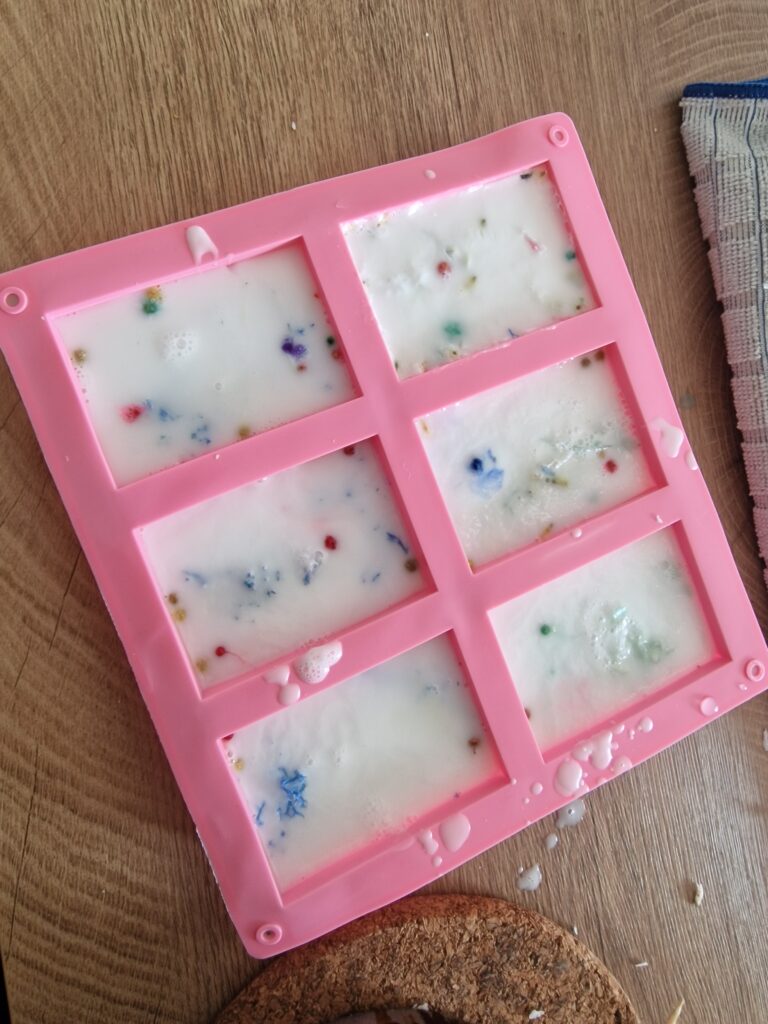
- Pour and Decorate: Carefully pour the liquid soap into your molds. While the surface is still hot and molten, gently drop or arrange your dried flowers on top. They will sink slightly and lock into place as the soap sets.
- Let It Set: Patience is key, but luckily it doesn’t take long! Let them sit undisturbed at room temperature for about 2 to 3 hours until completely firm. (Great time to knock out some laundry!)
- Unmold: Gently pull the edges of the silicone mold away from the soap to let air in, then press from the bottom to release your gorgeous creations.
The Power of Scents: Choosing Your Essential Oils
The right fragrance transforms a simple wash into an aromatherapy experience. Here is how to pick the right vibe:
- For Deep Relaxation: Lavender is the absolute gold standard. It calms the nervous system and makes an amazing gift for a stressed-out friend or for evening showers.
- For an Energy Boost: Citrus oils like Sweet Orange, Lemon, or Grapefruit wake up the senses. Perfect for morning-person gifts or kitchen hand soaps.
- For a Touch of Luxury: Rose Geranium or Ylang-Ylang offer a sophisticated, soft, and slightly floral perfume that feels expensive and elegant.
- For a Grounding Feel: Cedarwood or Sandalwood provide a warm, earthy, cozy note that works wonderfully year-round.
Note: Always stick to 100% pure, skin-safe essential oils and check for any sensitivities if you are gifting them to friends with reactive skin.
The Grand Finale: Gift Packaging Ideas
Because these soaps look so artistic with their embedded botanicals, you don’t need elaborate gift boxes. Keep it eco-friendly, rustic, and chic:
- The Rustic Wrap: Wrap a strip of simple parchment paper or brown craft paper around the middle of the soap.
- Natural Twine: Secure it with a piece of natural jute twine or cotton string.
- The Finishing Touch: Tuck a tiny dried flower bud or a mini sprig of eucalyptus right under the string before tying the bow.
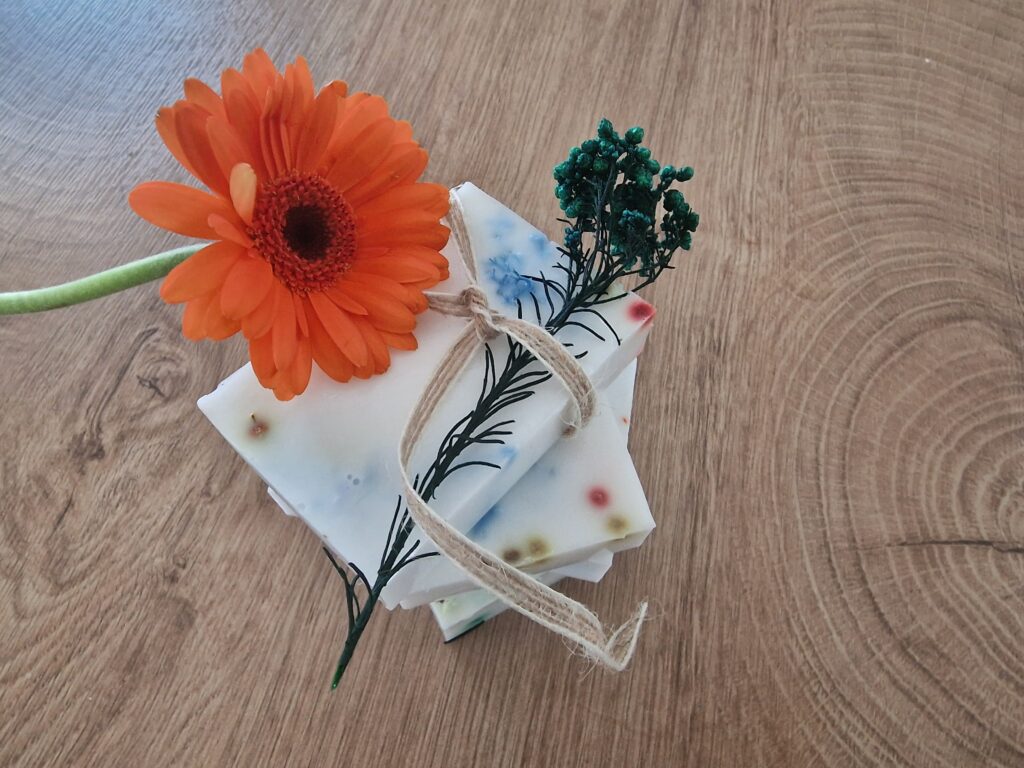
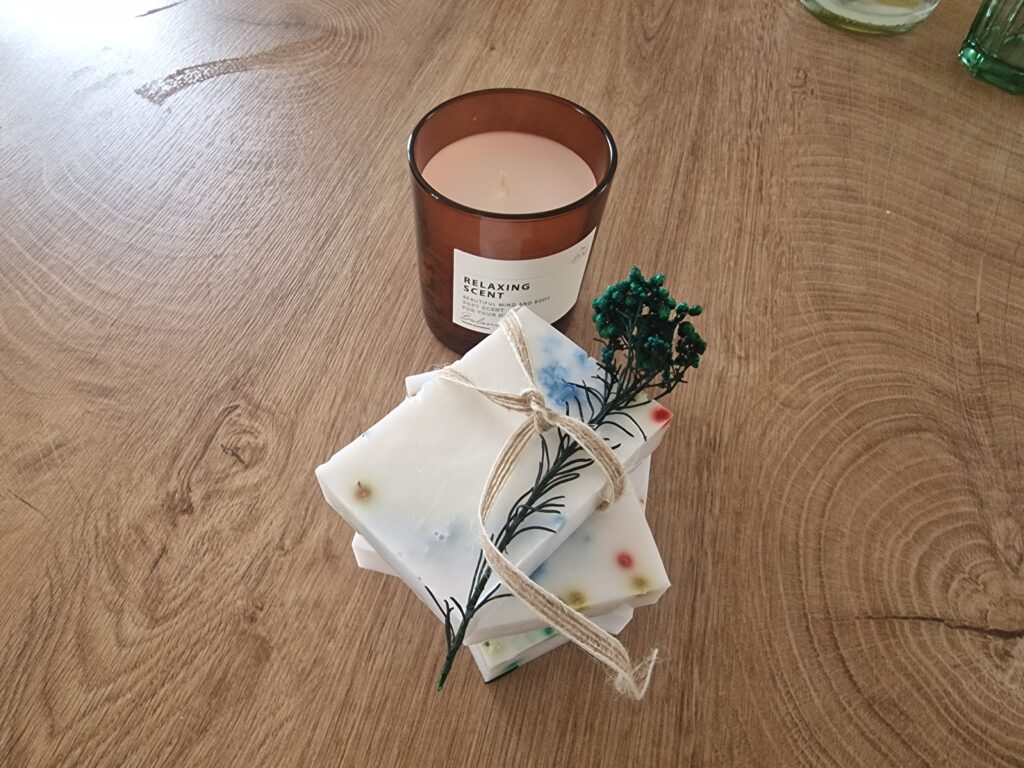
And you’re done! You now have a gorgeous, professional-looking, heartfelt gift that proves you care deeply—even when your schedule is running at 100 miles per hour.
Have fun crafting, and make sure to drop a comment below or tag me on social media if you try this out!
Disclaimer: This post contains affiliate links. If you purchase through these links, I may earn a small commission at no extra cost to you.