DIY Botanical Candles: The Craft to Make with Kids
This project shares a fun, sensory-rich experience that results in a beautiful, finished product to display or gift: DIY Botanical Candles.
This craft is perfect for older children (think pre-teens) who are ready for a slightly more advanced project, or for younger ones to do with careful adult supervision. The combination of melted wax, gentle fragrance, and delicate dried flowers is incredibly calming and rewarding.
Why This Craft is Great for Kids
Candle making is a fantastic way to introduce basic chemistry and physics concepts in a safe, fun environment. Here are a few reasons to love this specific botanical project:
- Sensory Experience: Melting the wax, stirring in the scent, and placing the delicate petals offers a multi-sensory engagement that is grounding and delightful for children.
- Focus on Aesthetics: Decorating the candle surface requires patience and fine motor skills, helping kids practice design and composition.
- Meaningful Gifting: A handmade candle is a deeply personal gift for Mother’s Day, a teacher, or a grandparent. It shows care and effort.
- Understanding Sourcing: This is a great jumping-off point to discuss where wax, wicks, and fragrances come from, and the importance of natural materials.
What You’ll Need (The Shopping List)
Before starting, gather the materials. These can easily be found at craft stores or online suppliers. Soy wax is recommended for its cleaner burn and ease of cleanup.
Essential Materials:
- Soy Candle Wax: Purchase flaked soy wax designed for container candles.
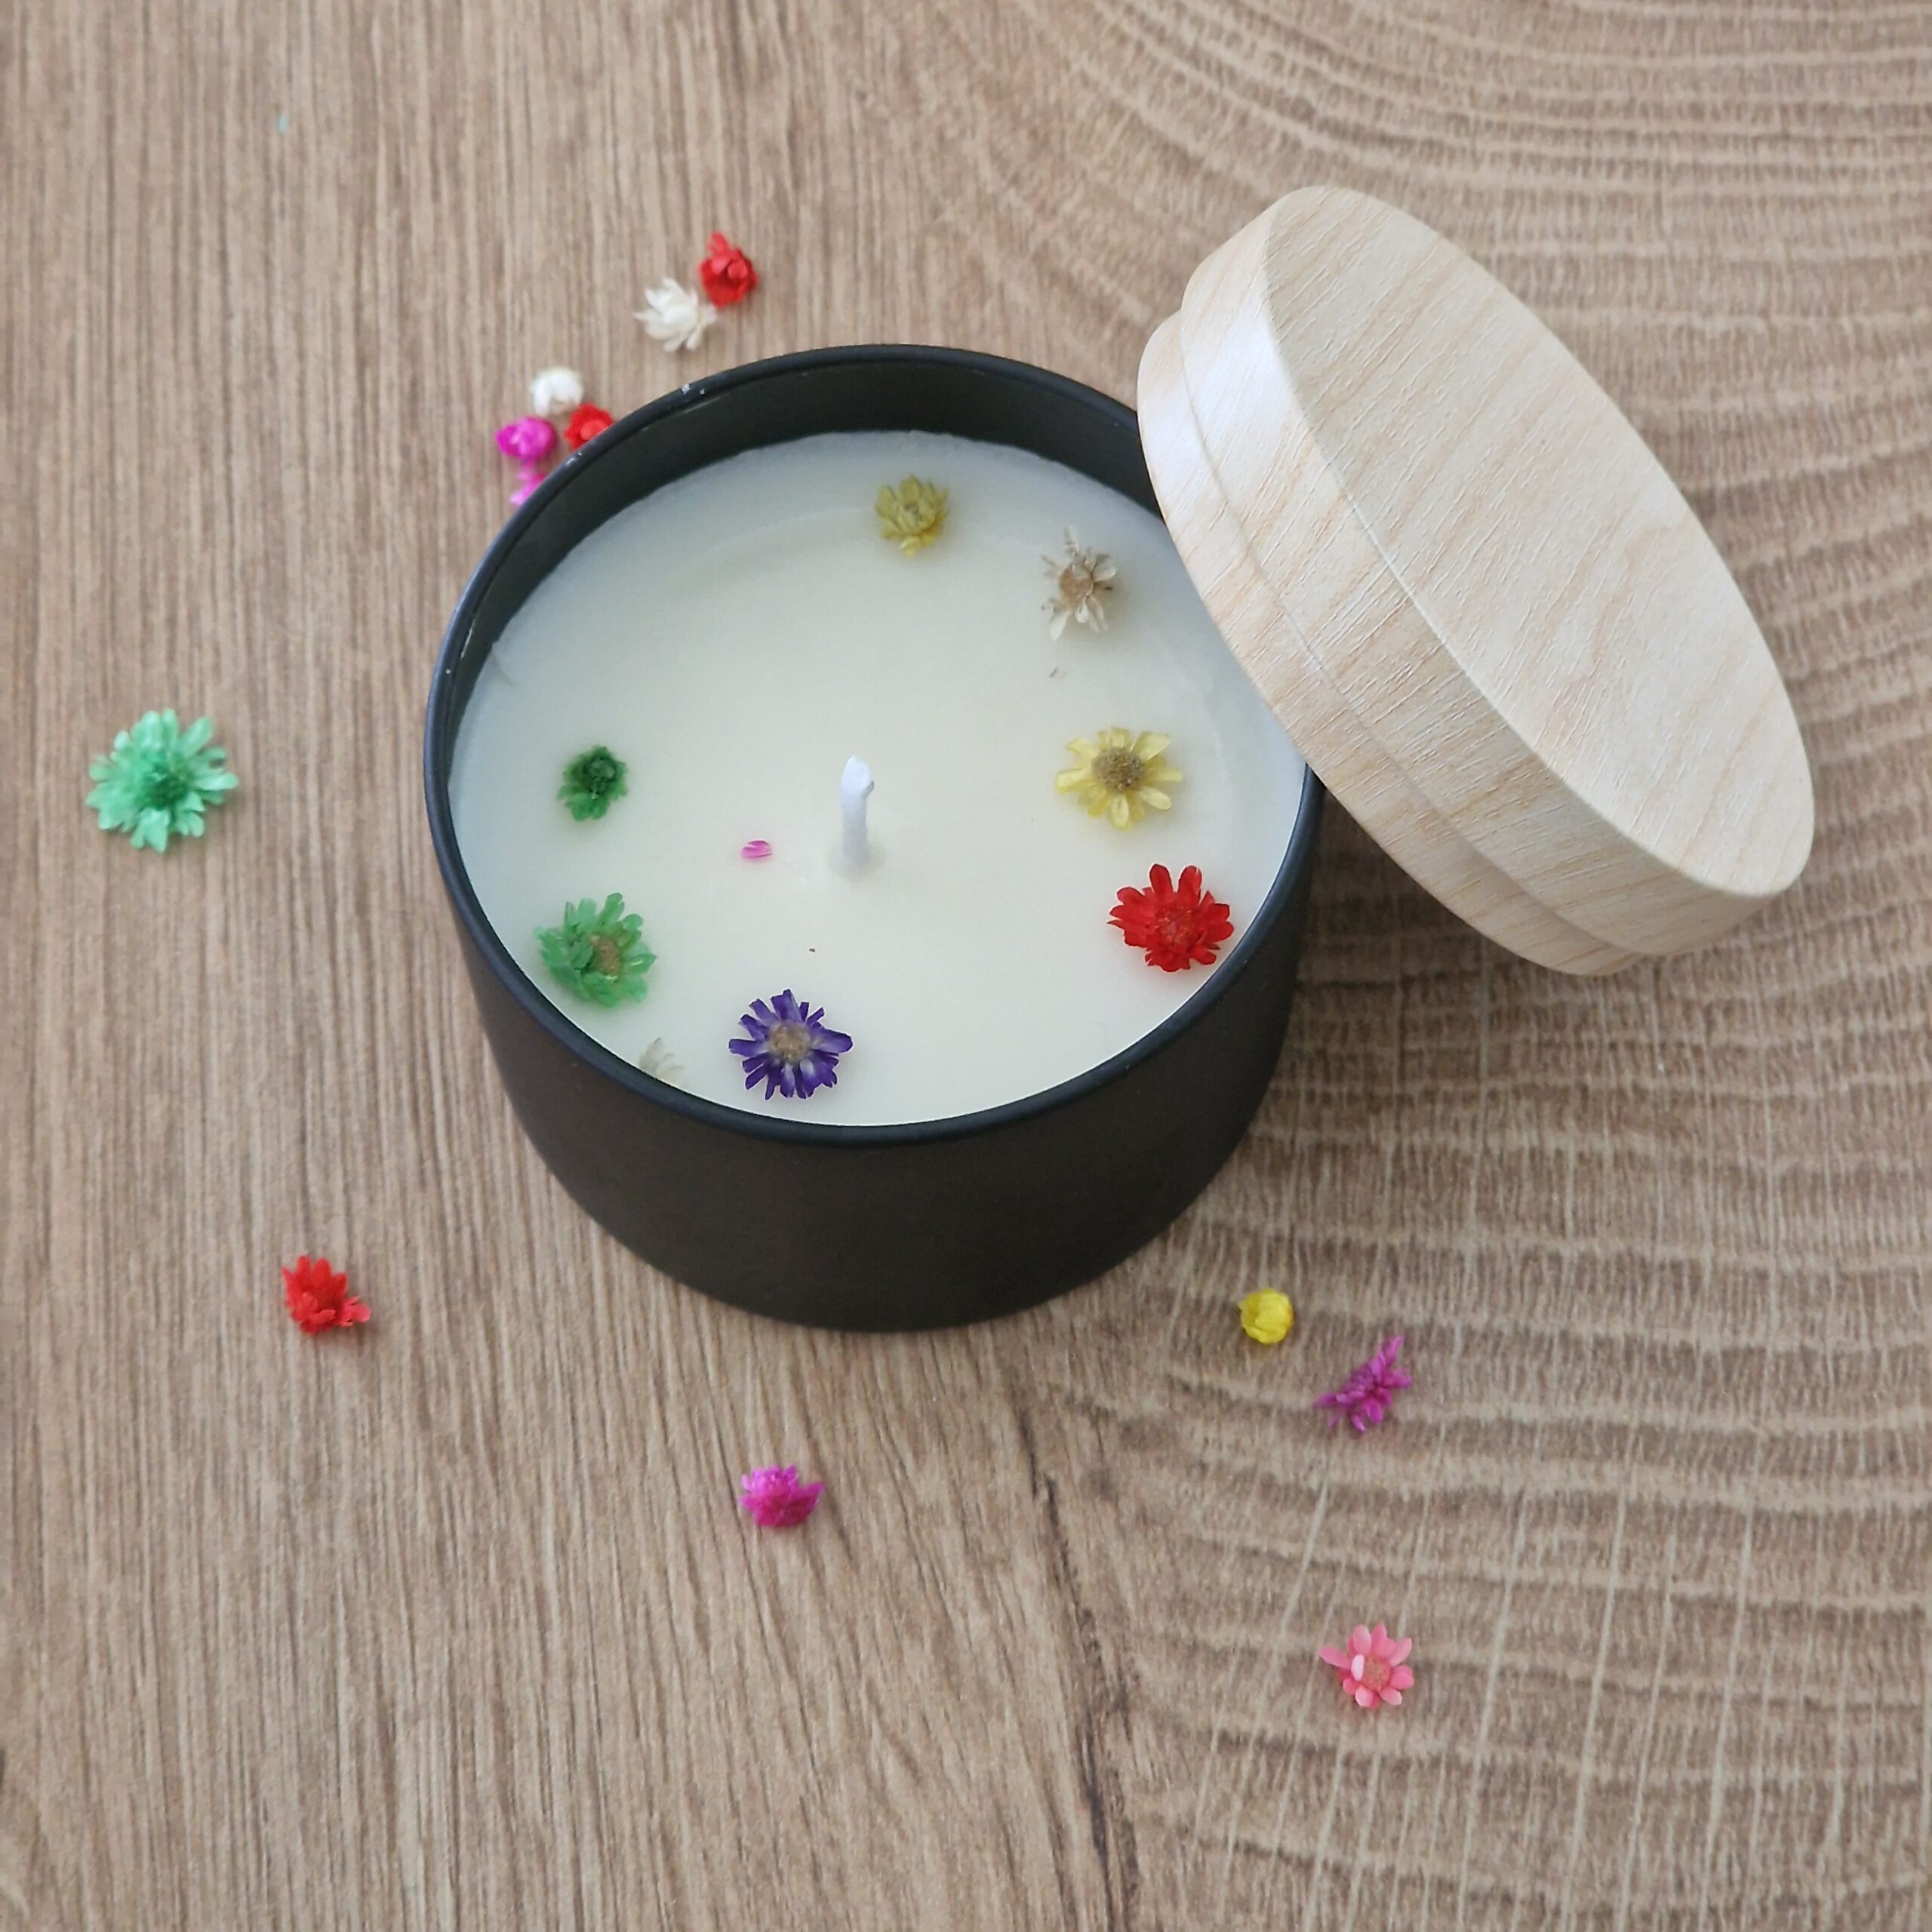
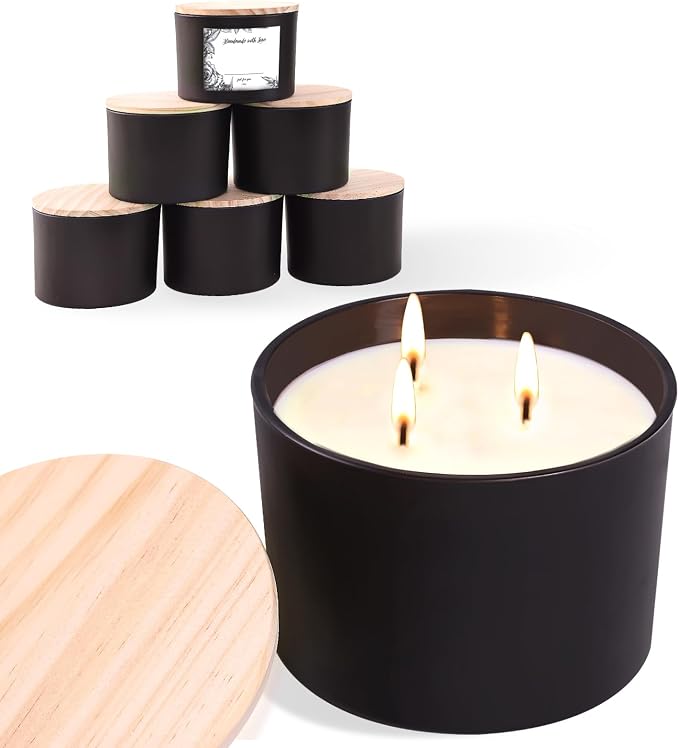
- Candle Containers: The look of the matte black tin shown in the inspiration photos (
image_0.png,image_1.png) provides a modern, minimalist contrast to the delicate flowers. Alternatively, small glass jars or repurposed ceramic cups can be used. - Wicks & Wick Stickers: Ensure the wick size matches the diameter of the container. Wick stickers make securing them effortless.
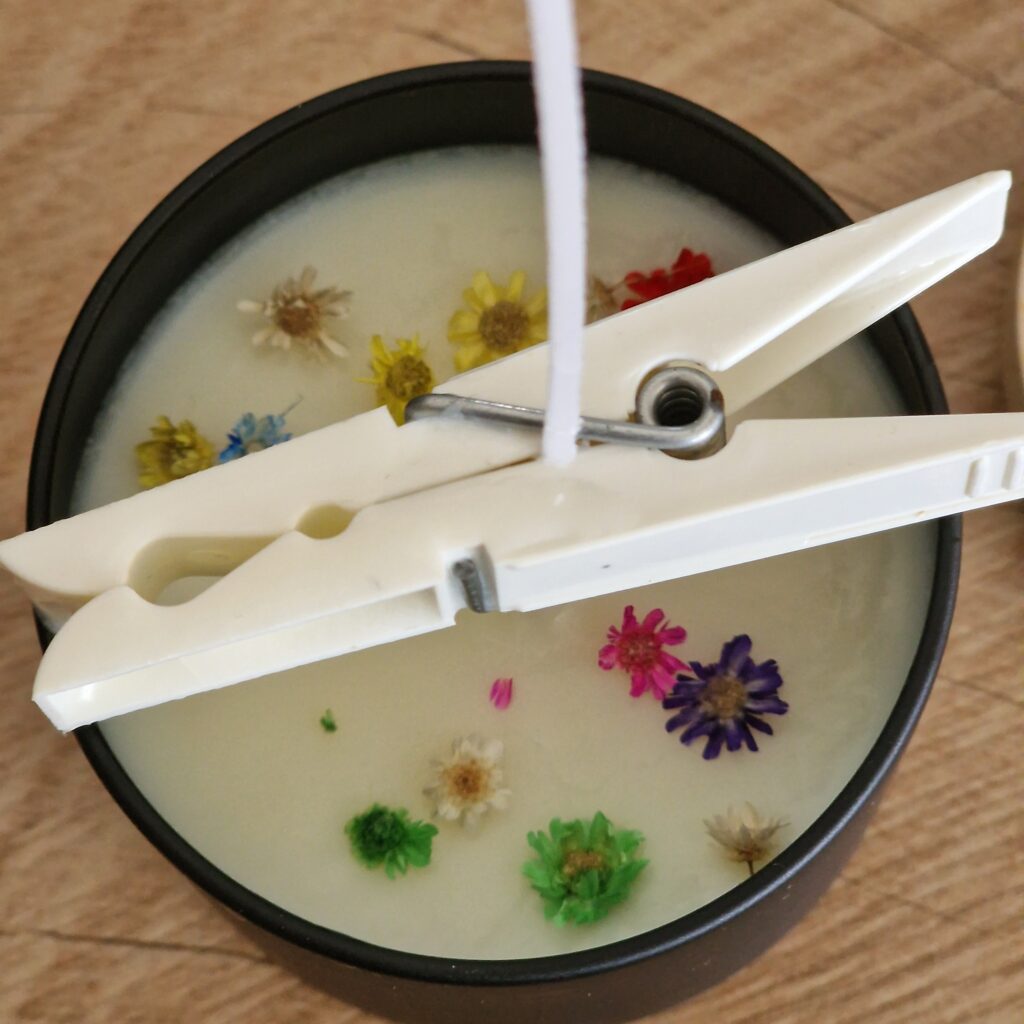
- A Simple Clothespin: As shown in
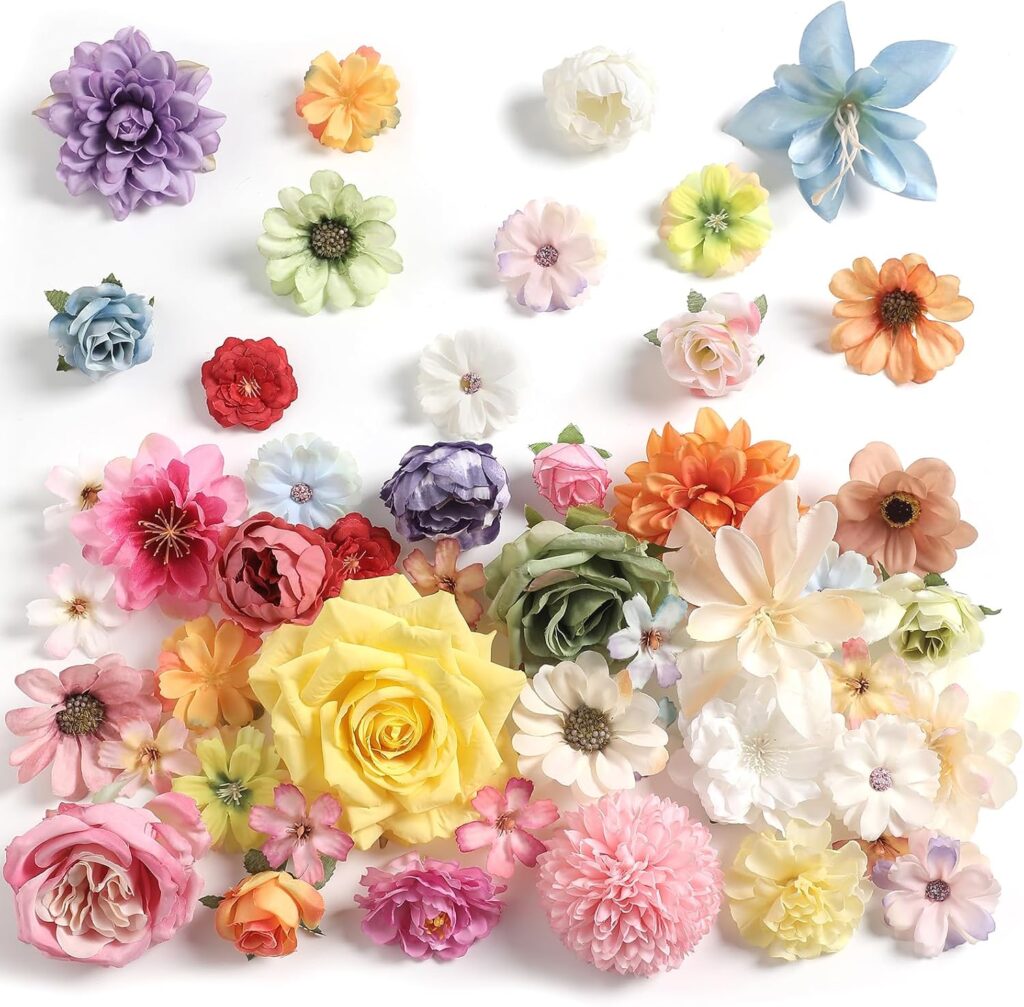
image_1.png, a standard household clothespin works perfectly as a clever tool to keep the wick centered while the wax sets. - Dried Flowers: This is the star of the show. Look for tiny dried flower varieties like lavender buds, baby’s breath, small dried daisies, or pressed petals. A Safety Note: It is crucial to use only fully dried botanicals, as fresh flowers can introduce moisture into the wax, causing a sputtering hazard.
- Fragrance (Optional): High-quality candle fragrance oils or essential oils.
- Tools: A heat-resistant glass measuring cup (pyrex), an old pot (for a double boiler), and a stirring utensil (like a wooden chopstick).
Step-by-Step Instructions
Step 1: Prep Workspace & Containers
- Lay down newspaper or parchment paper to protect surfaces.
- Clean the containers thoroughly and make sure they are completely dry.
- Take the wick and adhere the metal tab to the center of the container’s bottom using a wick sticker or a tiny drop of hot glue. Center it as best as possible.
Step 2: Melt the Wax
- Fill the pot with a couple of inches of water and bring it to a simmer. Place the glass measuring cup inside, creating a double boiler.
- Add the soy wax flakes to the glass cup. (A good rule of thumb is that 1 cup of flakes makes roughly 1/2 cup of melted wax, but it’s always better to melt a little extra).
- Stir occasionally as the wax melts completely.
Step 3: Add Scent (If using)
- Once the wax is fully melted and clear, remove it from the heat.
- Let it cool slightly. This is when fragrance oil is added. Stir gently for about 1-2 minutes to ensure it’s fully incorporated. If added while the wax is too hot, the fragrance will evaporate.
Step 4: Pour the Wax and Secure the Wick
- Carefully pour the melted wax into the container, leaving about 1/2 inch of headspace at the top.
- Holding the Wick with a Clothespin: To keep the wick perfectly straight and centered while the wax cools and hardens, take a standard wooden or plastic clothespin and clamp it onto the top of the wick. Rest the clothespin horizontally across the rim of the tin container, exactly as demonstrated in
image_1.png. This clever trick prevents the wick from leaning or sinking into the liquid wax. - Save a tiny amount of leftover wax for the next step.
Step 5: The Design (The Botanical Magic!)
- Watch the Wax: Wait for the wax to cool and set partially. It should look opaque and feel firm to the touch, but still slightly soft. If it’s too liquid, the flowers will sink. If it’s too hard, they won’t adhere.
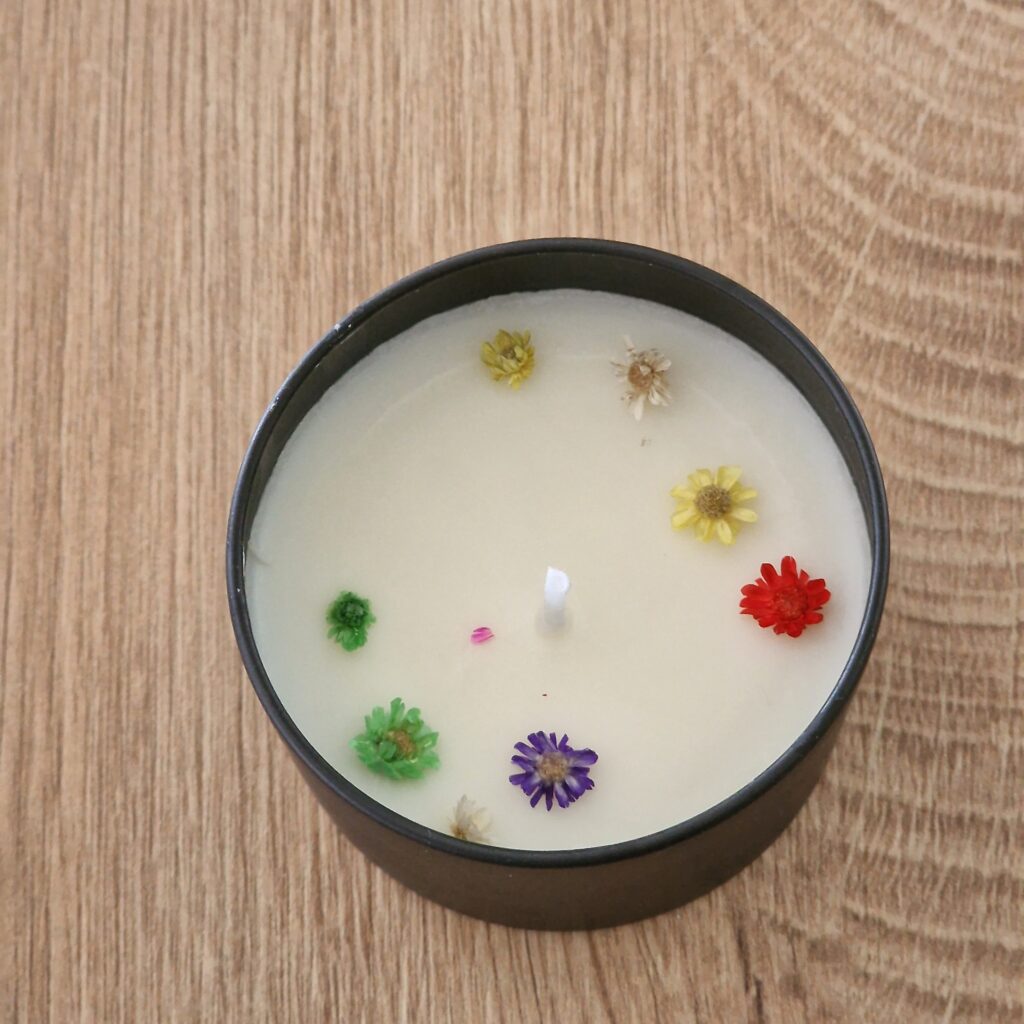
- Place The Flowers: Give children tweezers to gently arrange the dried flowers around the wick. Recreate the look in the inspiration photos (
image_0.png,image_1.png) with a variety of colored blooms—perhaps a yellow daisy, a red poppy, and a green sprig, spaced artistically. Press them ever-so-gently into the surface. - Seal the Deal: Take the reserved tiny bit of melted wax and use a toothpick or small brush to dab a microscopic amount over the very top of each flower. This „seals“ them into the candle surface and prevents them from catching fire easily.
Step 6: The Cure
- Let the candle cool completely and undisturbed for at least 24 hours (ideally longer, up to a week) with the clothespin still attached. Once fully set, remove the clothespin.
- Trim the wick to about 1/4 inch before lighting.
Safety Considerations When Crafting with Kids
- Adult Supervision is a Must: Melting wax involves heat. An adult should handle the stove, boiling water, and the pouring of hot wax.
- Proper Ventilation: Melted wax and fragrances can release fumes. Always craft in a well-ventilated area.
- Proper Botanicals: Reiterate the rule: Use only DRIED botanicals.
- Fire Safety: Once the candle is made, teach children that candles are not toys and should only be lit by an adult in a safe, attended environment.
Making these botanical candles is more than just a craft project; it’s a mindful, creative experience that creates a lasting memory and a beautiful keepsake. It teaches patience, safety, and appreciation for nature’s beauty.
Products you can use if for this project:
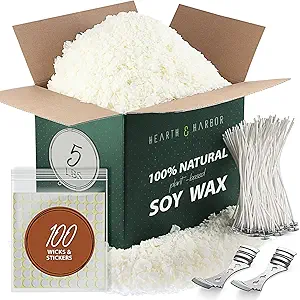
Note: Affiliate links are embedded in the images above, marked with an asterisk, which means I may earn a small commission at no extra cost to you if you make a purchase.